 Today I thought I'd share with you some of the steps I take in making one of my wall hangings. The images in this first step were taken from a fat quarter I bought when we were in Australia. I love the images but just couldn't leave them alone and use the fabric as I bought it. Today I surrounded them with dark brown. The same images have appeared on the last two wall hangings but with different fabric around them.
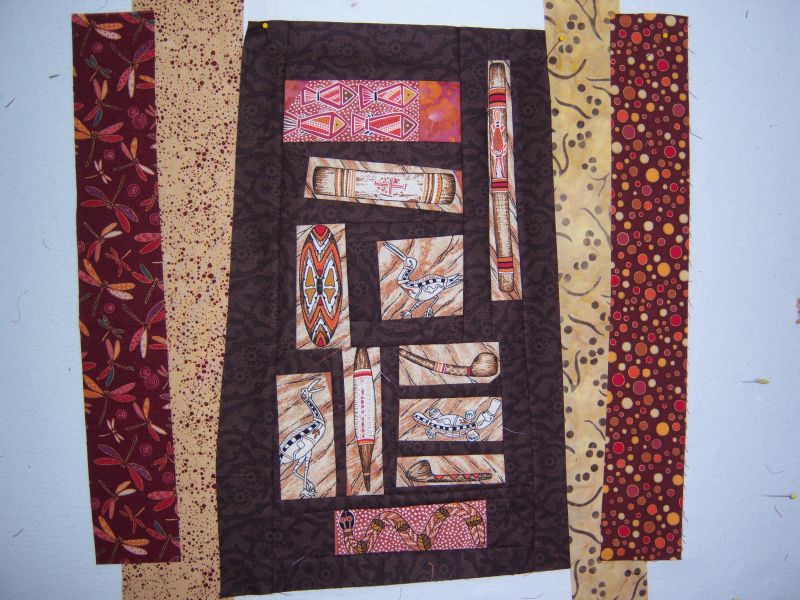
The next step is to add a few more fabrics. I auditioned several before I decided on the ones in this photo.

Here I am trying out some insert fabrics and some different colors of rick rack.
 The only thing I might love more than rick rack is piping. I used red piping to set off the dark fabric. If you want to use piping I can't recommend highly enough getting a special piping foot for your machine. I have been told that a zipper foot works just as well. Not so.
I have also started trying out some of the ornaments I have on hand.
There will be many more changes before this one is finished. I think it needs another color, possibly blue or maybe the green from the previous picture. Or maybe only a little blue bling if I can find exactly the right piece. Thrift shops, here I come!
1 comment:
Thank you so much for sharing this. I look forward to giving this a try...now, where are my piping scraps?
Post a Comment